If you are interested, I highly recommend The Fresh Loaf web site to learn about making all kinds of bread from scratch. I feel like a number of the folks on the site are like friends, as we have exchanged so many experiences about making bread.
To make a loaf like I have pictured here, one must start several days in advance. First, feed your sourdough starter (I used Paul Hollywood’s recipe for building my starter; you can find many ways to do it online), so that it more than doubles. This could take four to twelve hours, depending on how active your starter is at the beginning of the process.
I keep different kinds of starter in the refrigerator to use when I need it. It’s important that you take it out of the fridge and feed it at room temperature every several weeks so it doesn’t begin to “starve.”
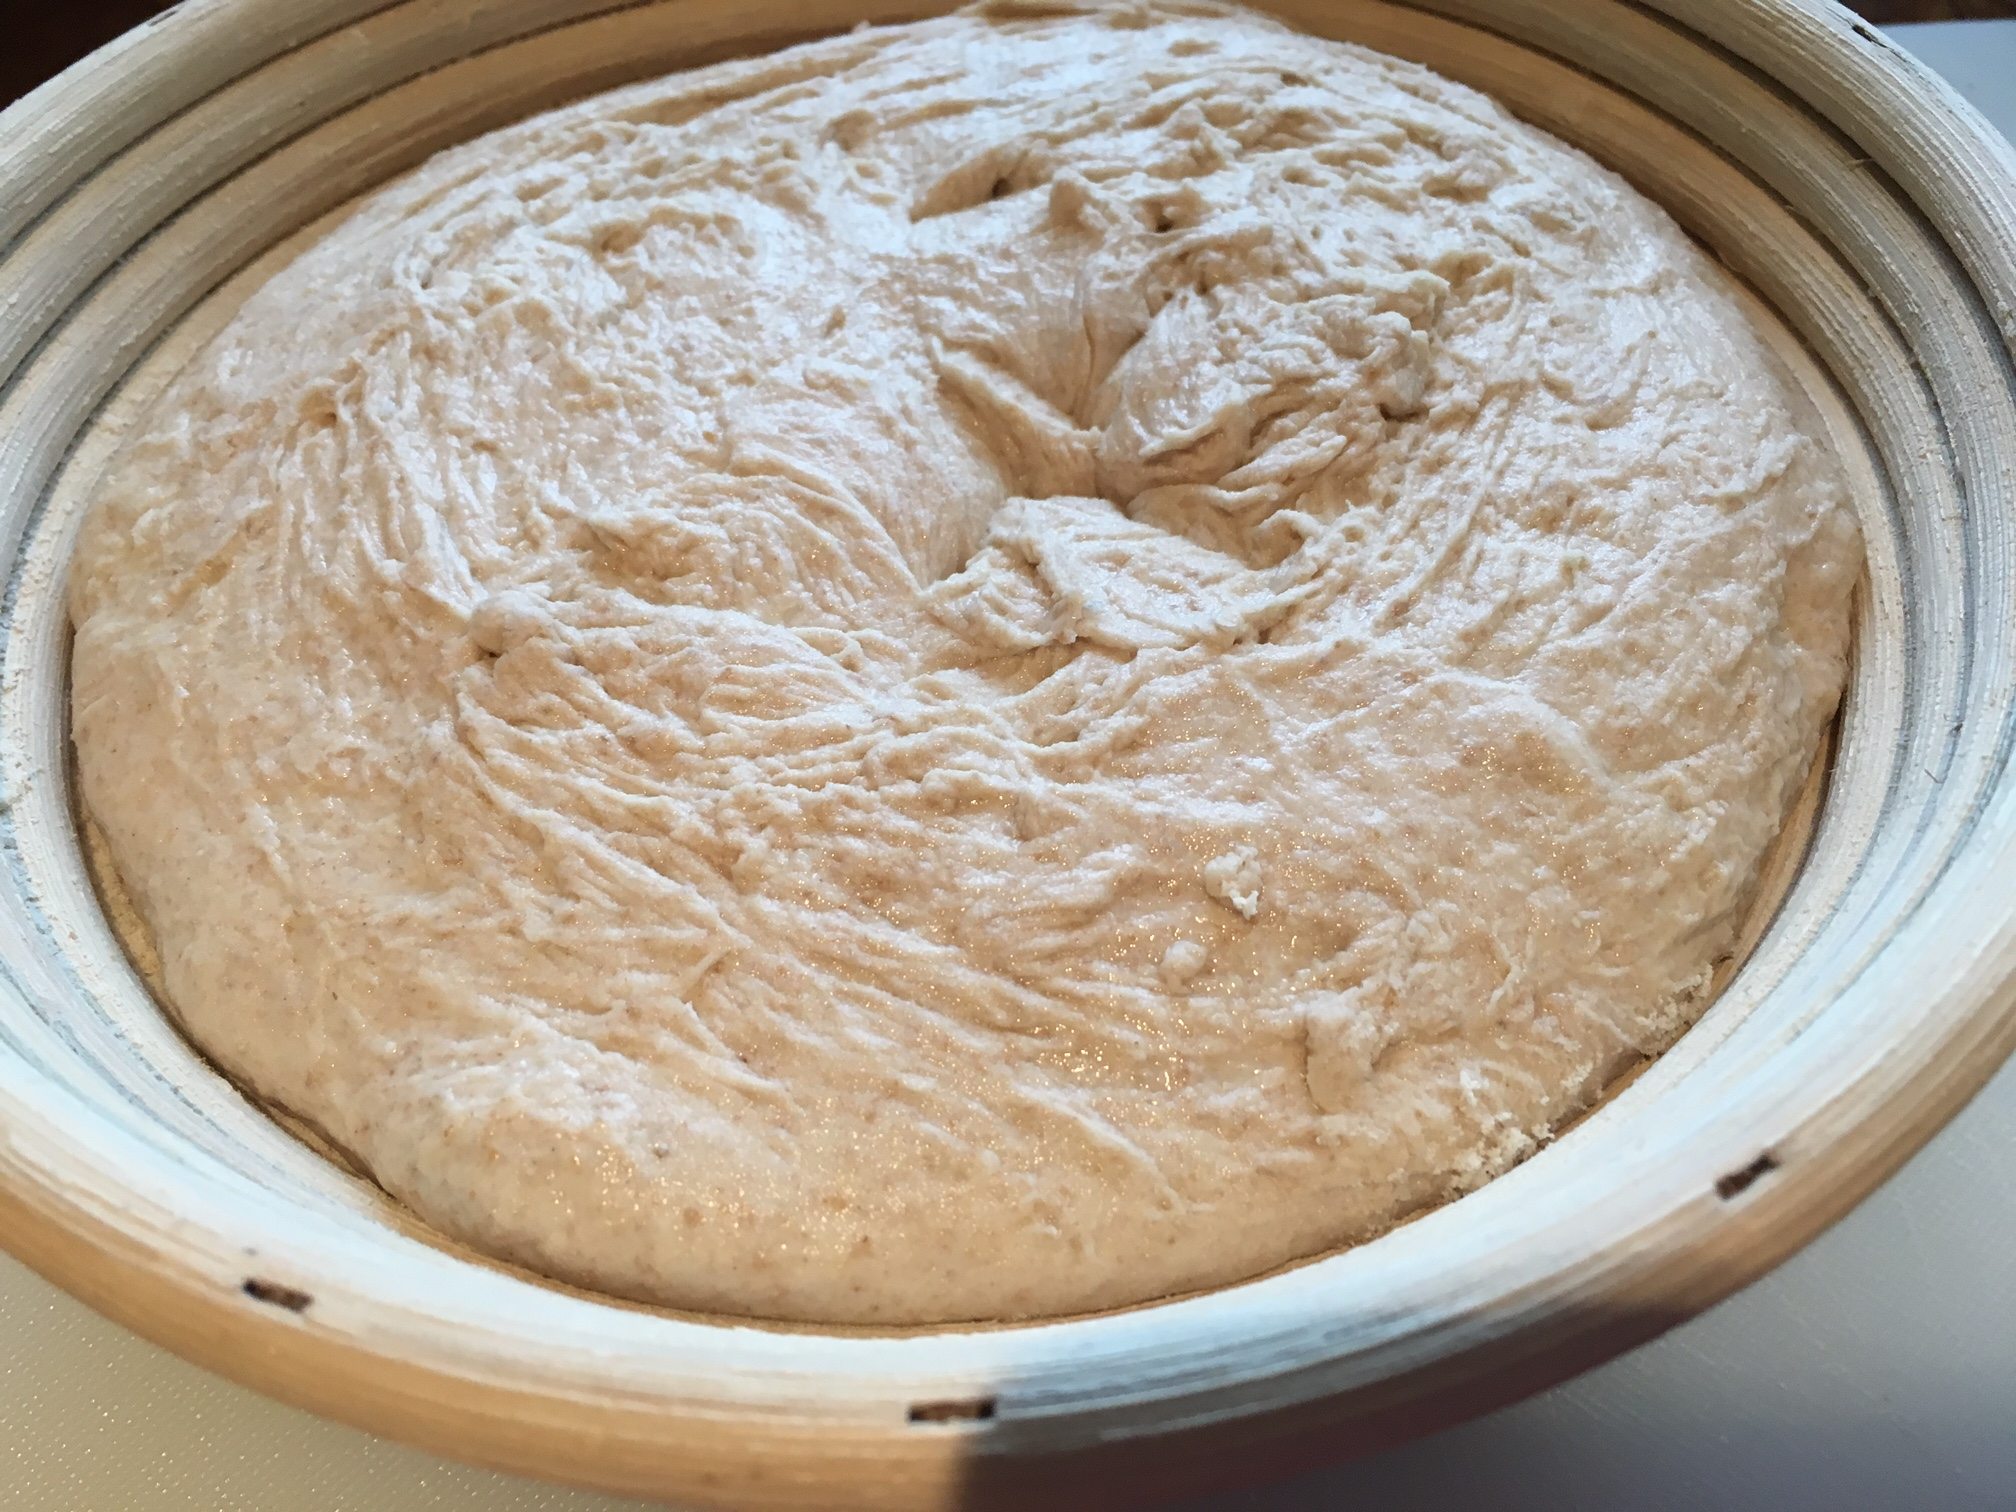
Once the starter is ready, you make the dough, and then it has to “proof” or rise several times: on the counter, once you’ve mixed the dough; in the fridge in bulk, and then in the fridge overnight once you’ve shaped the loaf. When the dough is shaped, it’s put into a banneton (you can see the one I use in the photo) coated in brown rice flour to prevent sticking and then put in plastic in the fridge.
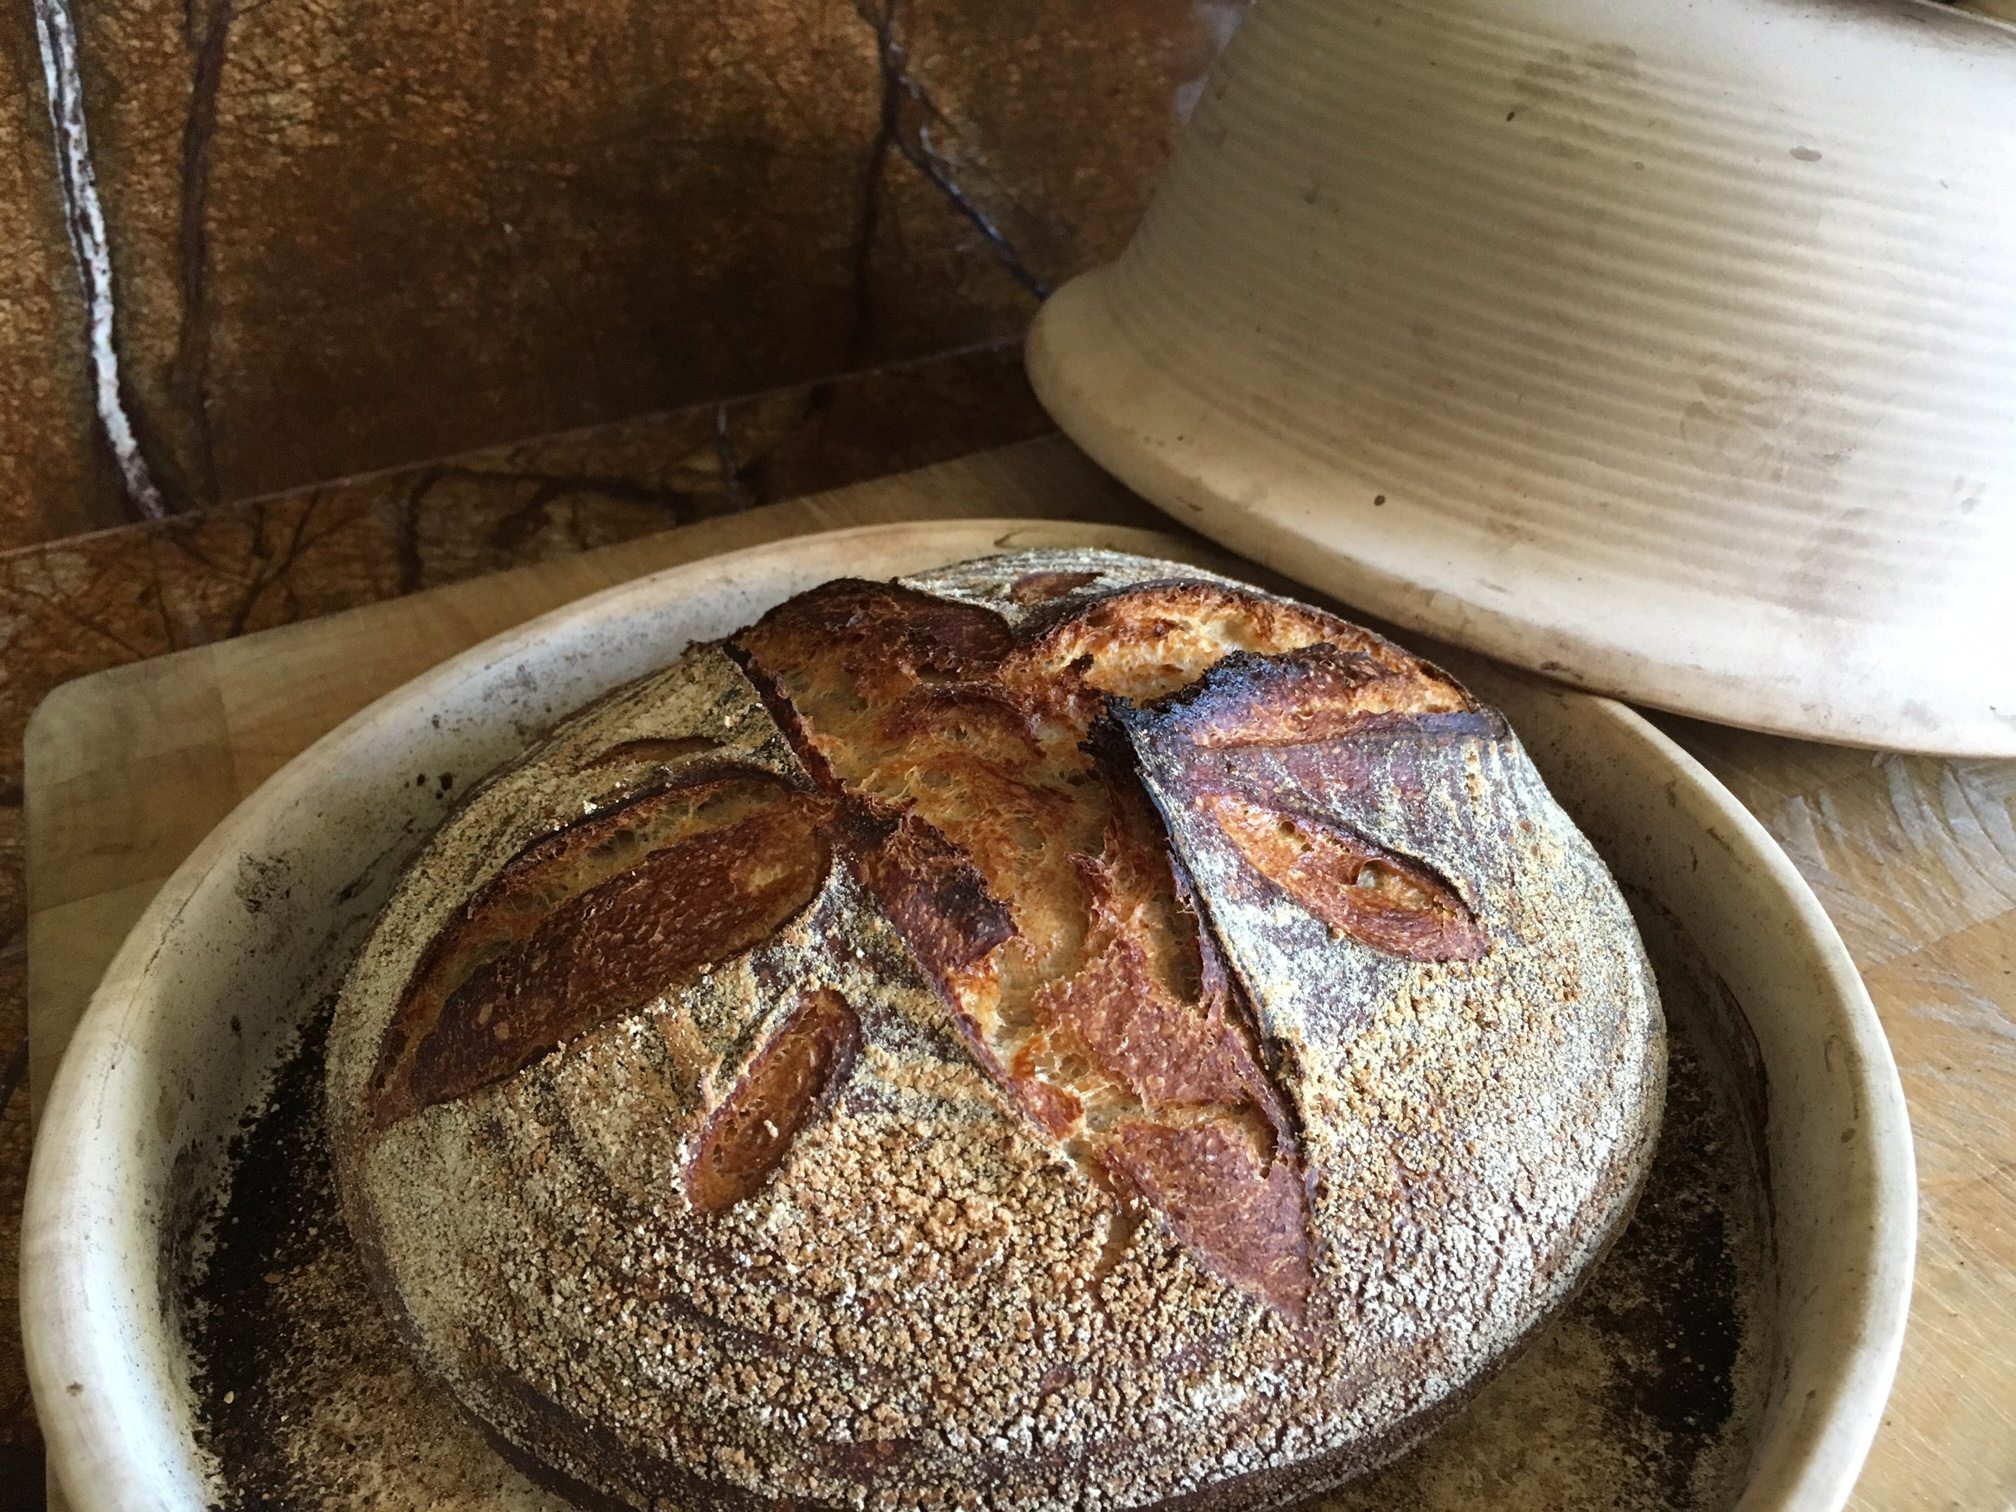
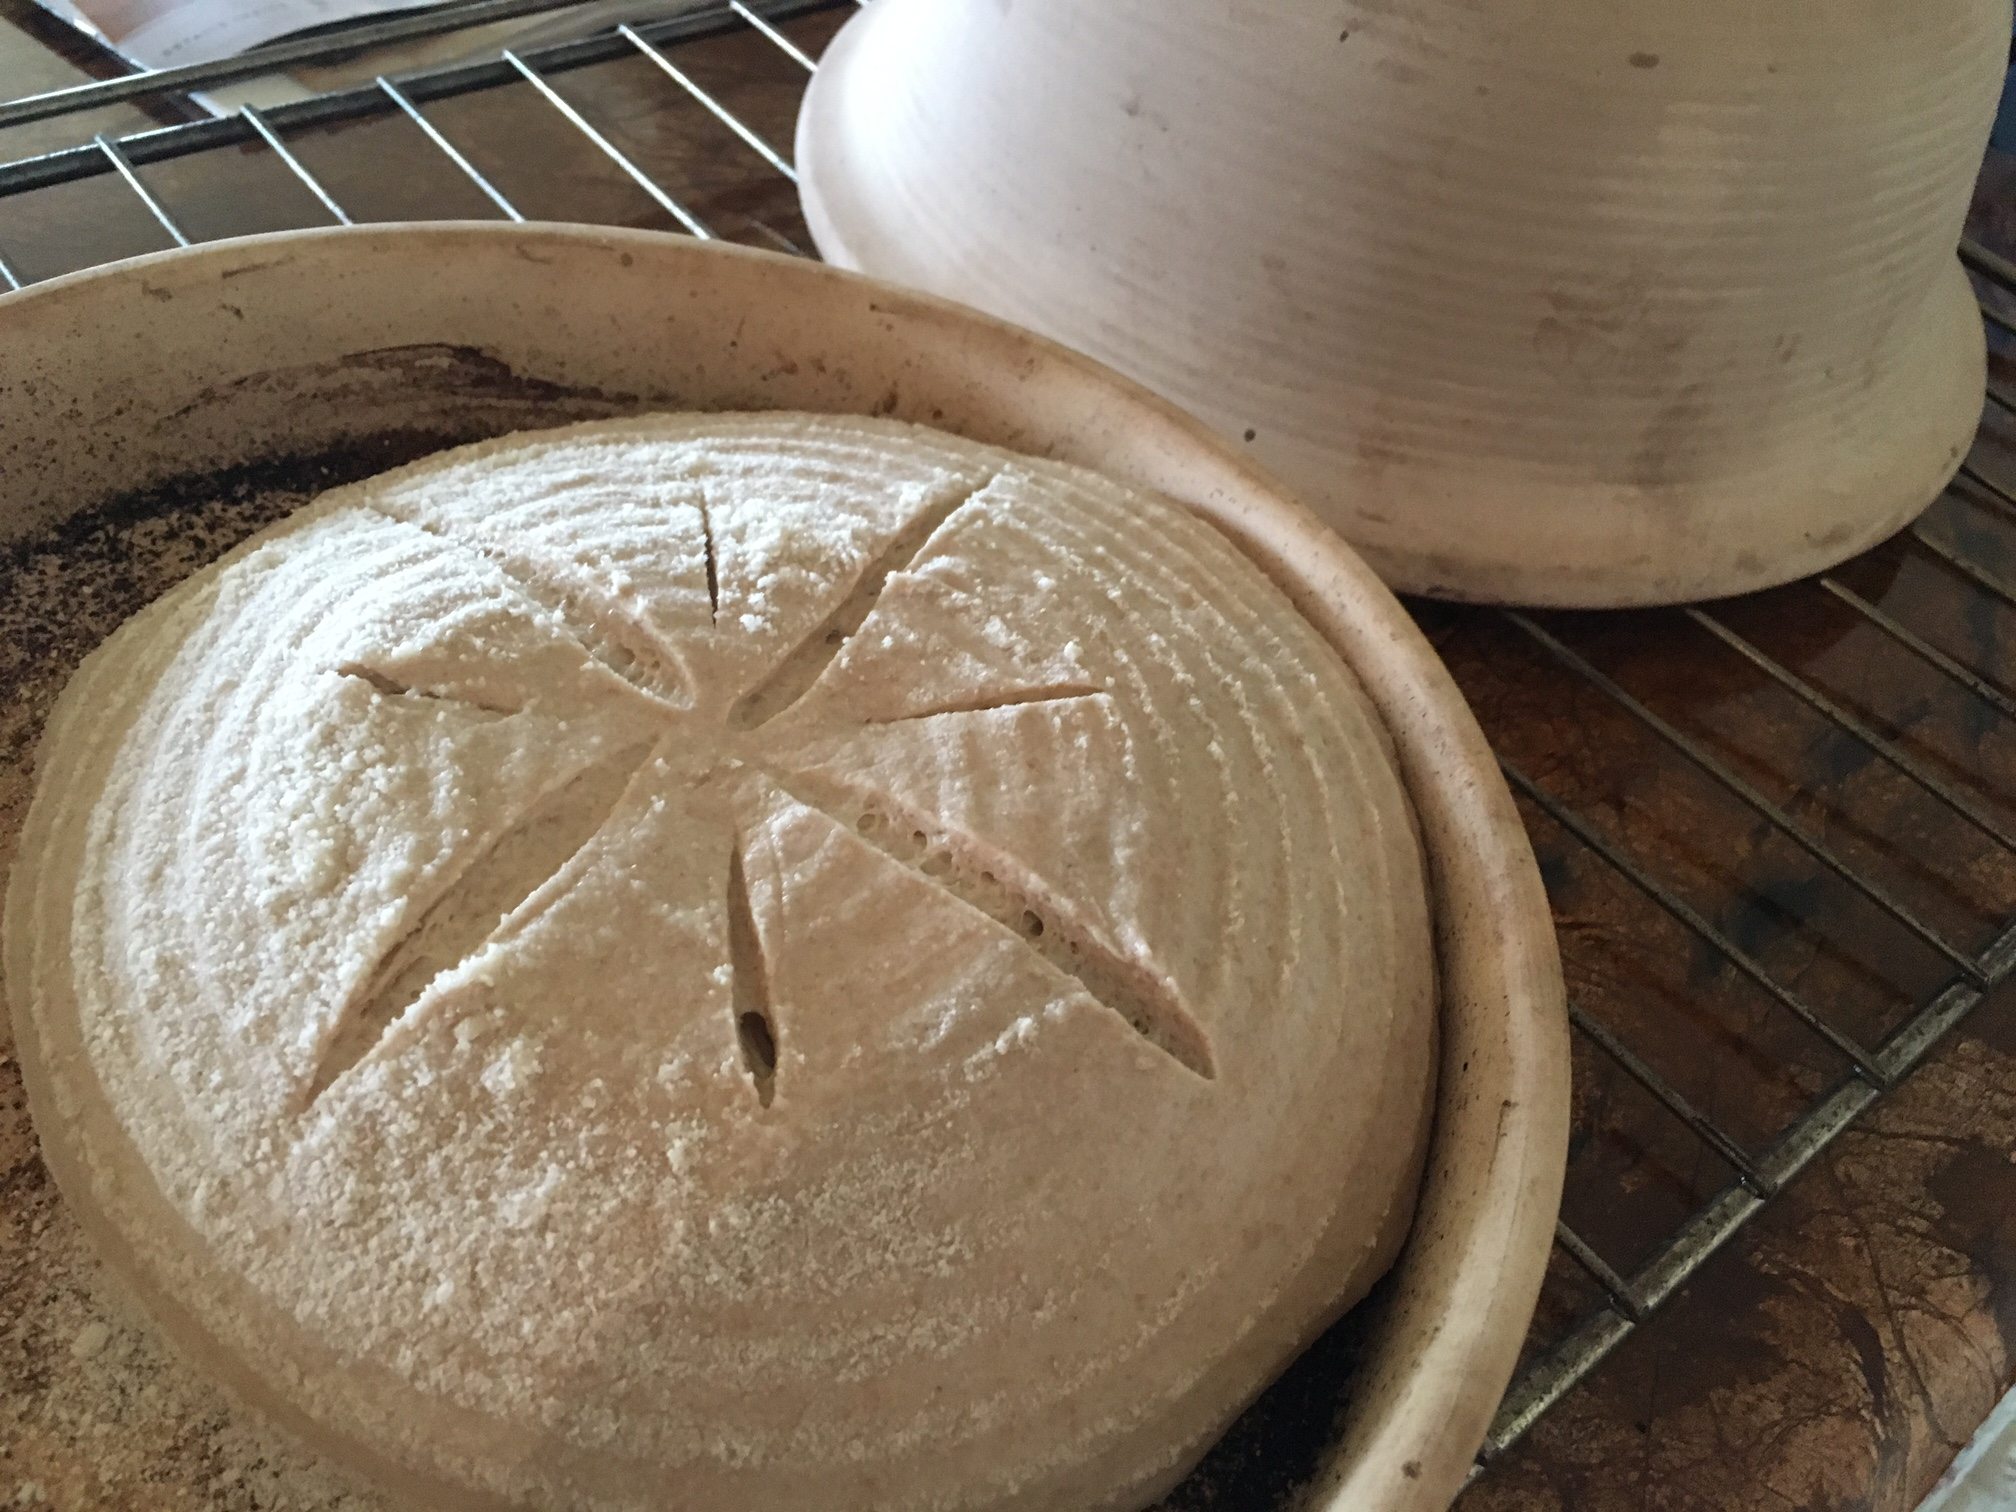
To get a really nice crust, I use a covered baker and preheat the baker in the oven at 500 degrees. I generally bake the bread in the covered baker for about 30 minutes at 500 with the lid on, and then take it off for 15 minutes with the lid off at 465 degrees. This method resulted in the loaf you see here. I usually bake in the morning, so the bread is ready for lunch time. Just before you pop it in the oven, score it in your favorite pattern.
The house smells so great right now, as I have just taken the bread out of the oven.
So, I think you can see that making the bread takes some planning. Once you have the hang of it, it is actually very easy. Happy Baking!
Leave A Comment