One of my passions is making artisan sourdough bread. I started baking homemade bread with yeast, but became intrigued with making my own sourdough starter and actually did it about four years ago. I have made many different kinds over the years and will try to feature some of those here.
One of my favorite breads, and one that I bake all the time, is the classic sourdough loaf. I made some recently when friends were visiting.
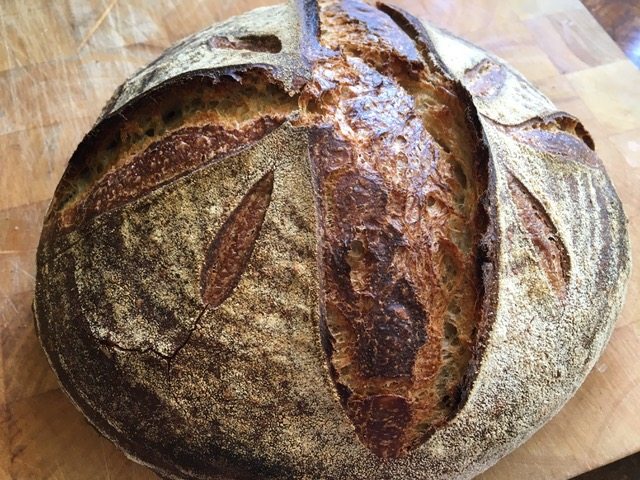
I showed our visiting friend, Alan, how to make this dough, shape it, score it and bake it. It really came out well, and he was pleased. Alan was a great student and did a lot better than me when I was learning how to make this type of bread.
I have simplified this recipe, so that when I make it, it really isn’t difficult. BUT, I need to start three days ahead of time because it takes several hours for the starter to rise once it’s fed, and the dough will need time to rise a bit on the counter before going into the fridge overnight in what bread makers call a “bulk proof.” Once the bread has bulk proofed, it is shaped, and goes into a basket, or banneton, over night for another proof. So, you can see what I mean about planning ahead for the actual baking day.
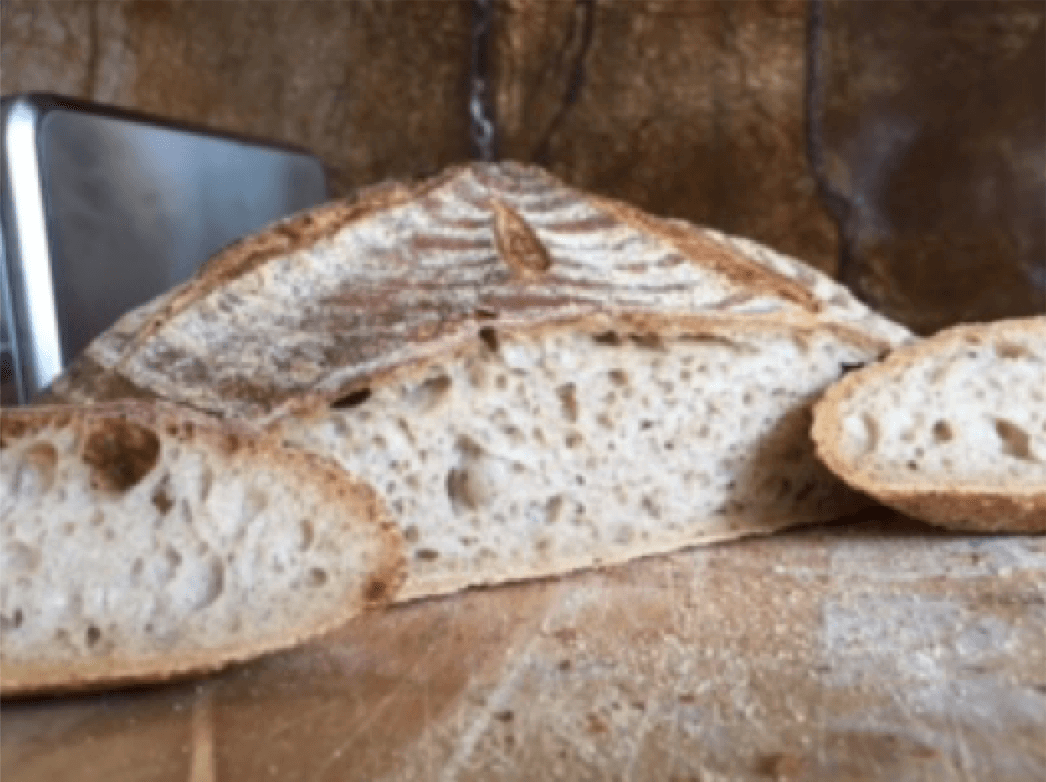
The photo above shows the crumb, or the holes. You can achieve really nice crumb like this with higher hydration dough. It took me a long time to learn this and tons of practice.

Here are some of my tools and how the bread looks shaped and ready to go into the banneton, or proofing basket, overnight to rise. You can see my starter at back; it has to be fed when it is time to make bread. The stickers on the jars are there to show how much it grows after it is fed. I keep it in the refrigerator when I am not using it, but it should be fed every couple of weeks, even when it is kept in the fridge.
Making bread like this is an art and a science, and I really enjoy the whole process. More to come!
Awesome site Phyllis …